Guides
Tallow Soap Recipe: A Hard, Long-Lasting Cold Process Bar
By The Soap Brain Team — Cold-process soap makers & formulators
·
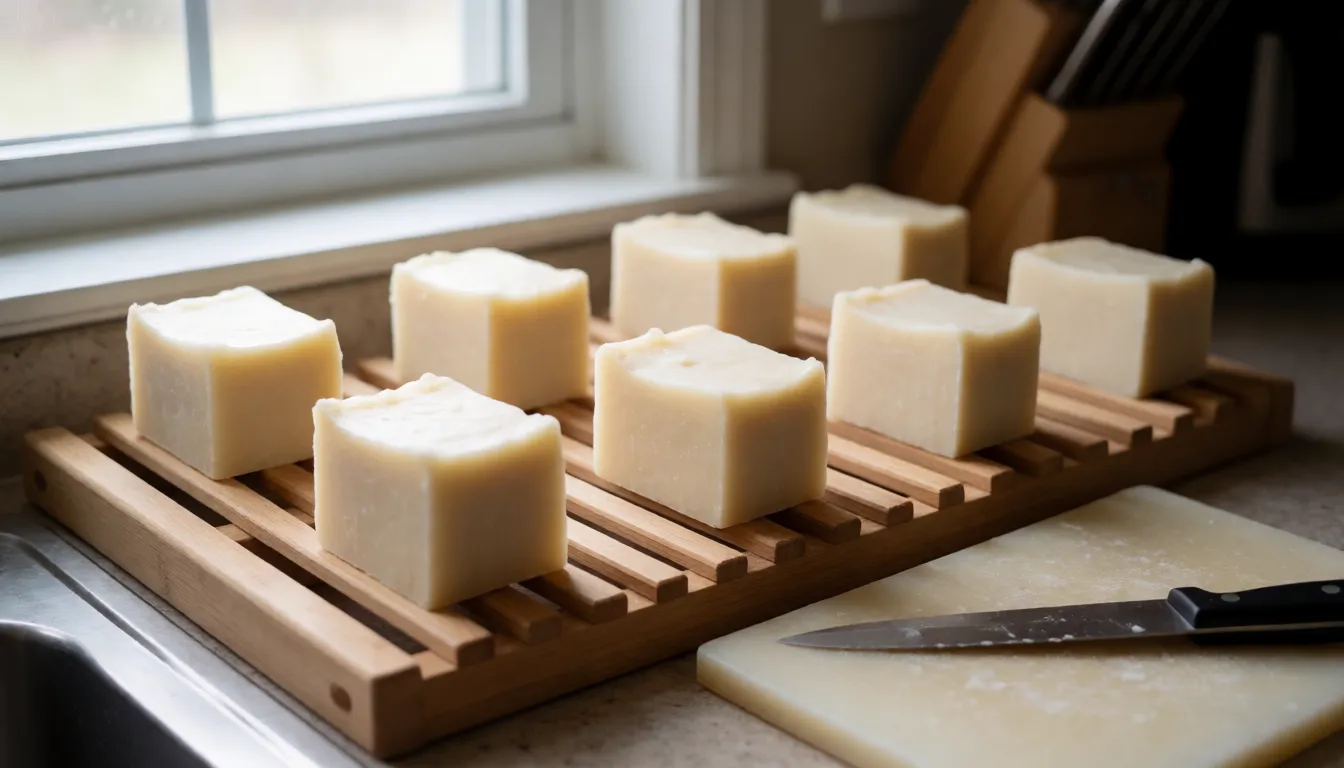
If you want a tallow soap recipe you can make this weekend, here's the short answer. Tallow makes a hard, long-lasting bar with a creamy lather, but on its own the lather is flat. So the recipe below is 60% tallow, with coconut oil for bubbles and castor for lather support. The recipe comes first, then the rendering, the tallow-specific quirks, and the cutting and curing.
The Short Version
Here's the whole project in eight steps:
- Render your fat into clean, pale tallow (or use tallow you already have).
- Weigh every oil on a scale, in grams.
- Run the oils through a lye calculator with tallow selected and get your lye and water weights.
- Melt the tallow completely, then add the other oils.
- Blend briefly, in short bursts, only to light pudding trace.
- Pour promptly and insulate.
- Cut once firm, around 18-24 hours.
- Cure for 6 weeks.
Tallow gives you hardness and staying power, with a creamy lather that needs coconut and castor to get bubbly. Everything below fills in those steps.
The Recipe: 1,000 g Tallow, Coconut, Olive and Castor Soap
This makes a good-sized batch of firm bars. Weigh everything in grams. Never measure oils, water or lye by cups or spoons.
| Oil | Weight | Percentage |
|---|---|---|
| Tallow | 600 g | 60% |
| Coconut oil | 200 g | 20% |
| Olive oil | 150 g | 15% |
| Castor oil | 50 g | 5% |
| Total oils | 1,000 g | 100% |
Calculator settings: 5% superfat and 33% lye concentration. Enter the four oils and their weights into the Soap Brain lye calculator, pick "Tallow (beef fat)" for the tallow (more on other animals below), and let it give you the lye and water weights. Use those numbers as they come out. If you'd like to understand what the other numbers on the screen mean, Soap Calculator Numbers Explained walks through them.
Fragrance: use your supplier's recommended rate for that specific oil. Rates differ from oil to oil, so I won't hand you a number. To turn a rate into grams, multiply your total oil weight by the percentage. If a supplier said 3%, that would be 1,000 g × 0.03 = 30 g. That 3% is only there to show the arithmetic. Your oil's rate is the one that counts.
Tallow-heavy variant: for a harder, plainer bar, use 90% tallow, 5% coconut oil and 5% castor oil. On 1,000 g of oils, that's 900 g, 50 g and 50 g. Rerun those percentages through the calculator instead of borrowing lye numbers from another recipe. Lovely Greens has a simple tallow soap recipe built on the same 90/5/5 idea if you'd like to compare.
What Tallow Actually Does for a Bar
Tallow is a hard fat, so it gives you a bar that stays firm in the shower and doesn't turn to mush in the soap dish. That's the main reason it's worth the bother. The lather it makes is creamy and stable, but by itself it's pretty flat, more lotion-like than bubbly.
That's why the recipe isn't all tallow. Coconut oil brings the big fluffy bubbles, castor oil helps hold the lather up, and olive oil rounds out the feel. The tallow-heavy 90/5/5 version gives you the hardest, longest-lasting bar with a quieter lather. The 60/20/15/5 version lathers more and feels a little more familiar if you're used to olive-and-coconut bars. For a first batch, I'd make the blended one. If you like it and want to see how far the hardness goes, try the heavy one next. There's more on what each oil contributes on the soap making oils page.
On skin claims: you'll see "tallow is just like your skin's own oils" all over the internet. Soap washes off, so it can't be "just like your skin's oils." How a bar feels comes from the whole recipe and the superfat, not from one ingredient. Tallow makes a solid, mild, long-lasting bar. That's plenty to recommend it.
Rendering Tallow for Soap
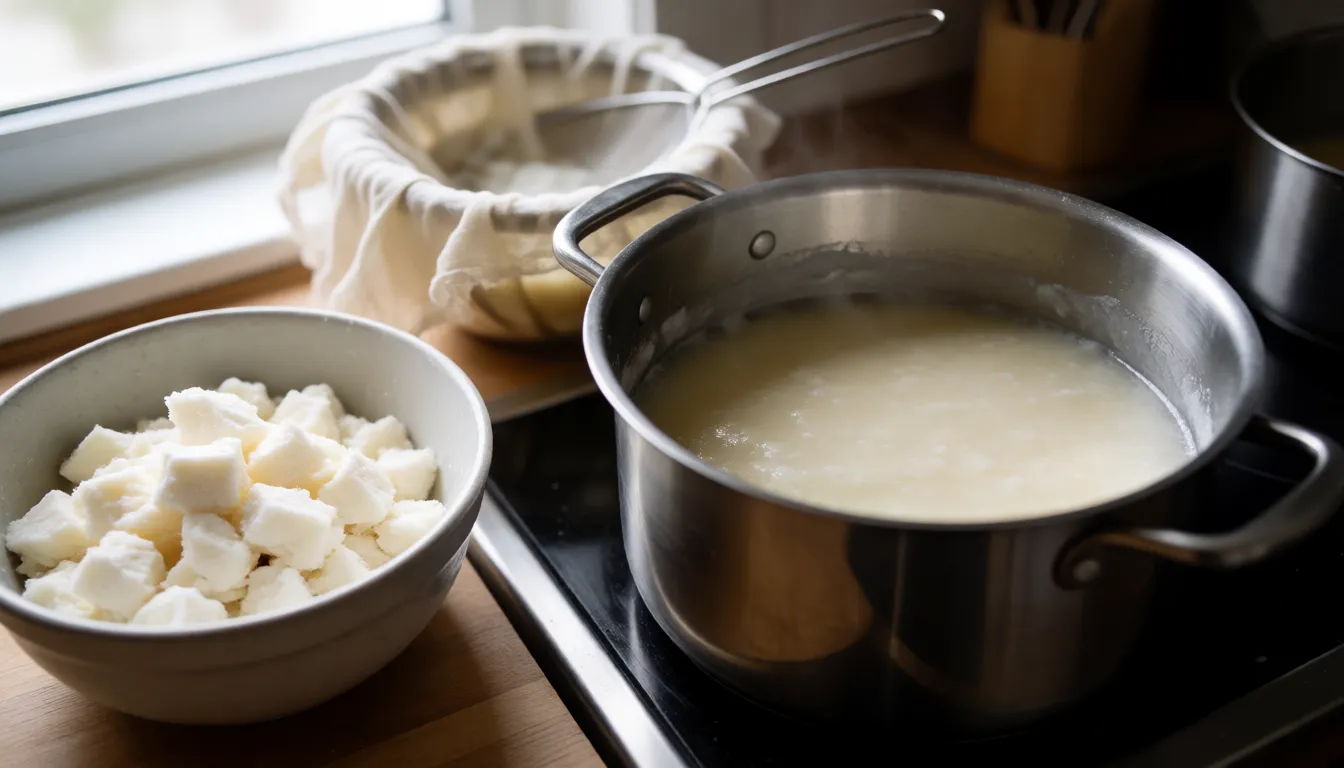
Rendering just means melting fat gently and separating the clean fat from the bits of meat and membrane. You can start with suet (the hard fat around beef kidneys), which is the best raw material, or with trimmings. A butcher will often sell or even give away suet cheaply. If you have your own beef, sheep, goat or deer, save the hard fat.
The steps, whichever method you use:
- Trim off any meat, blood or bits of hide.
- Chop or grind the fat small. Smaller pieces melt faster and more evenly. Partly freezing the fat first makes it much easier to cut or grind.
- Melt low and slow in a heavy pot or slow cooker for about 3 hours, on the lowest setting you have. The fat should sit at roughly 200-225°F, never smoking. Stir now and then. The fat will turn liquid, and the leftover bits (called cracklings) will darken and sink or float.
- Strain through cheesecloth set in a strainer over a clean container.
- Cool. The tallow sets into a solid cake you can weigh out for soap.
Hot-fat safety: hot fat gets much hotter than boiling water and it burns badly. Keep the heat low and never walk away from the pot. For the dry method, keep the pot, the utensils and your workspace completely dry. For the wet method, which puts water in the pot, remember that hot fat and water can spit. Keep the heat low, stay at the stove, and never add water to fat that is already hot. Start the water and fat in the pot together, cold, and heat them up as one.
For a full photo walkthrough of the basic method, The Prairie Homestead's guide to rendering tallow is a good companion.
Which way you do the melting is the next question.
Wet Rendering vs. Dry Rendering
Dry rendering is what's described above: fat and nothing else in the pot. It's the simplest. The downside is that the fat can pick up a toastier, beefier smell and a bit of color, because the cracklings sit in hot fat as they cook.
Wet rendering adds salted water to the pot. Here are the numbers I use:
- Water: 1 kg (1,000 g) of water for every 1 kg of chopped fat. If you think in pounds, that's about 450 g of water per pound of fat.
- Salt: 20 g of salt per 1,000 g of water, so about 9 g per 450 g.
- Heat: put the fat, water and salt in the pot cold, then bring it up until the water is barely trembling, about 200°F. Don't let it boil hard.
- Time: simmer for 3 hours, stirring occasionally.
Strain into a clean container and chill it, ideally overnight. The tallow hardens into a cake on top of the water. Lift it off, scrape the brown sediment from the underside, and toss the water. Then re-melt the cake with fresh salted water, using the same ratios, and simmer for 1 hour this time. Chill, lift and scrape again. The salted water helps pull impurities out of the fat, and each round gets you whiter, milder tallow. The safety notes are in the rendering steps above, and they matter most here.
My pick for soap: wet render, two rounds. It's a bit more work, but soap is where any leftover beefy smell shows up, and fragrance won't cover it. If you're in a hurry, do a dry render first to get the bulk of the fat clean, then wet re-melt it once or twice. Bumblebee Apothecary's guide to rendering and purifying tallow goes deeper on purifying if you want odorless and bright white.
How to tell it's clean enough: the cooled cake is white to pale cream, firm, and has no brown layer on the underside. When you melt a little, it smells faint and neutral, not like a roast. If it still smells strongly beefy or the underside is brown, do another wet round.
Storing Rendered Tallow
Rendered tallow keeps much better than raw fat, but it isn't immortal. If you're soaping within a few weeks, the fridge is fine. For anything longer, freeze it. Frozen, it keeps well for up to a year. I break the cake into chunks, weigh them into freezer bags in 600 g and 900 g amounts so soaping day is easy, and label each bag with the date and the animal. Let the fat come to room temperature before you melt it.
That label matters, because the next step depends on it.
Beef, Sheep, Goat or Deer: Which Tallow to Pick in the Calculator
The lye calculator lists beef tallow as "Tallow (beef fat)". If your fat is beef, that's your pick.
Sheep, goat and deer tallow aren't listed separately. They take close to the same amount of lye as beef, and the published figures differ by only a few percent, so use the beef entry for them too. The recipe's 5% superfat is what covers that small gap. Keep it at 5% or a little higher for a non-beef tallow, and don't trim it lower. If your fat is a mix of animals, the same advice applies.
Making the Soap, Step by Step
Safety, once: wear goggles, gloves and long sleeves, and work with good ventilation. Always add lye to water, never water to lye. If lye splashes on your skin, rinse with plenty of running water. Lye Safety for Soapmakers covers gear and airflow in more detail.
Then:
- Weigh the lye and the water using the numbers from the calculator, on a scale, in grams. Add the lye to the water, stir until it's dissolved, and set it somewhere safe to cool.
- Melt the tallow completely. It has a higher melting point than most soaping oils, so check that there are no soft lumps left. Then add the coconut, olive and castor oils. They'll cool the mix down a bit.
- Check temperatures. I soap with both the oils and the lye water at about 110-120°F. That's warm enough that the tallow doesn't start to set up in the pitcher. It's the reverse of the cool-it-down routine you may know from milk soaps.
- Combine by pouring the lye water into the oils, and add fragrance now if you're using it.
- Blend in short bursts. Pulse the stick blender for a few seconds, stir, and repeat. Stop at light pudding trace, when the batter is thick enough to leave a faint trail on the surface. Hand-stirring works fine too, it just takes longer.
- Pour promptly into your mold, tap out the bubbles, and insulate with a towel or blanket.
If you need the full basics of equipment and process, the beginner cold process walkthrough covers them. Tallow moves faster than olive, so watch the batter closely from step 5 on.
When Tallow Traces Too Fast
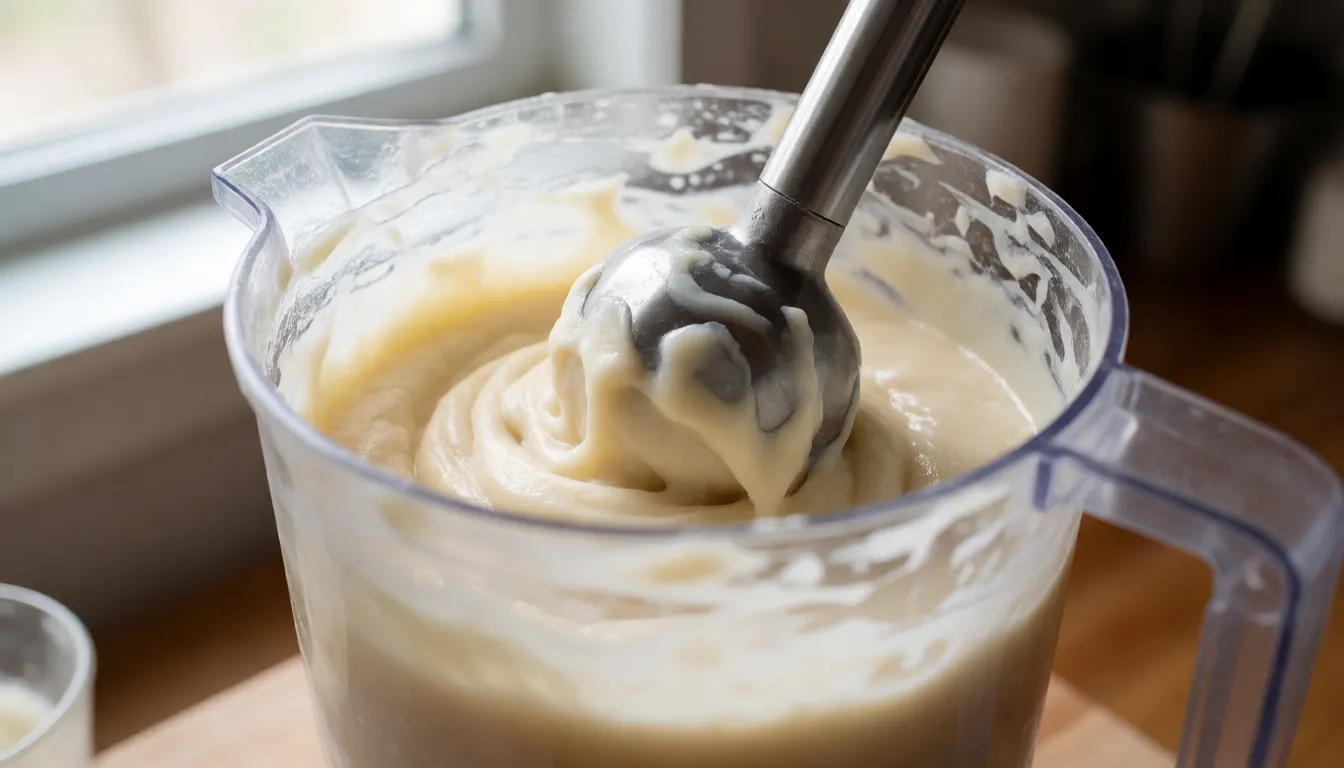
Tallow soap can go from thin to thick in the time it takes to answer a text. Here are the likely causes, most common first, and how to tell which one bit you:
- Fragrance. Some scents speed things up a lot. If the batter was fine until you poured the fragrance in and then thickened within seconds, that's your answer.
- Temperature. If the oils were cool or the tallow was already cloudy and starting to set in the pitcher before you added anything, the batch got too cold. Thickening that starts almost immediately, before any blending, points here.
- Over-blending. If the batter looked fine but you kept blending "just to be sure," you made trace happen faster than you needed to.
I had a tallow batch get away from me early on. I'd added fragrance, given it a "quick" long blend, and turned to grab my mold. When I looked back, the batter was thick as mashed potatoes and mounding on the blender. I scooped it into the mold like frosting, and it made a bumpy, rustic loaf that still turned out to be perfectly good soap. Now I blend in bursts and stir the fragrance in by hand.
What to do with the batch in front of you: stop blending, stir by hand, and pour or spoon it into the mold right away. Tap the mold, smooth the top as best you can, and insulate as usual. If it's too thick to smooth, lean into it and make a textured top. 12 Textured Soap Top Ideas has some good ones. Thick batter is still soap.
If it sets up in the pitcher before you even get to blending, the fat was too cool. Next time, melt the tallow fully and keep your oils and lye water in the 110-120°F range. If you get stuck mid-batch, rewarming the pitcher slightly is safer than blending harder. For other trace problems, Cold Process Soap Problems is a handy reference.
Unmolding and Cutting Before It Gets Too Hard
Tallow-heavy soap firms up fast, and a bar that was easy to cut at 18 hours can be a chore at 48. My window is around 18-24 hours after pouring. If the loaf is already firm and pulls cleanly from the mold at 12 hours, cut sooner. The soap is still caustic at this point, so keep wearing gloves when you handle it.
If you'd rather skip the cutting problem altogether, use cavity molds. Each bar is poured in its final shape, so there's no loaf to slice, and they're a great fit for tallow's quick firming.
If your bars ended up too hard to cut cleanly, don't fight them. Next batch, check the loaf earlier and cut as soon as it holds together. A hard loaf that crumbles or cracks under the knife is a sign you waited too long, not that the recipe failed.
Curing Your Tallow Soap
Plan on 6 weeks for the blended recipe. If you make the tallow-heavy version and want the hardest, mildest bar, give it up to 8. Stand the bars on a rack with space between them, out of direct sun, and turn them now and then so all sides dry.
A properly cured bar feels firm and dry, holds its shape in your hand, and lathers nicely. If you want to be careful, read How to Zap Test Soap Safely before you try one on your skin, and if anything feels harsh, check Lye Heavy Soap: How to Tell, Fix It or Toss It.
Use the first bar and take notes. Was the lather what you wanted? Was it hard enough? That tells you what to change in batch two.
What to Make Next
Once you've made the base recipe, change one thing at a time:
- More lather: raise the coconut percentage a little and lower the olive to keep the total at 100%, then rerun it in the calculator.
- Different fats: swap the olive oil for shea, or replace some of the tallow with lard, and rerun the numbers each time.
- Scent and color: try a new fragrance at your supplier's rate for it, or add a colorant, but change just one of them per batch so you know what did what.
If you want more ideas, the cold process recipe collection is a good place to browse. And when you have your next batch of fat, you know how to turn it into something useful.
More from the blog
- What Is Saponification? How Oil and Lye Become Soap
- How to Make Liquid Soap: KOH Paste, Dilution, Fixes
- How to Make Breastmilk Soap: Melt and Pour or Cold Process
- Essential Oils for Soap Making: Rates, Picks and Fixes
- Soap pH: What's Normal, Why It's Alkaline, How to Test
- Master Batching Soap: 1:1 Lye Solution and Oil Blends
- All posts →