Guides
12 Textured Soap Top Ideas for Cold Process Loaves
By The Soap Brain Team — Cold-process soap makers & formulators
·
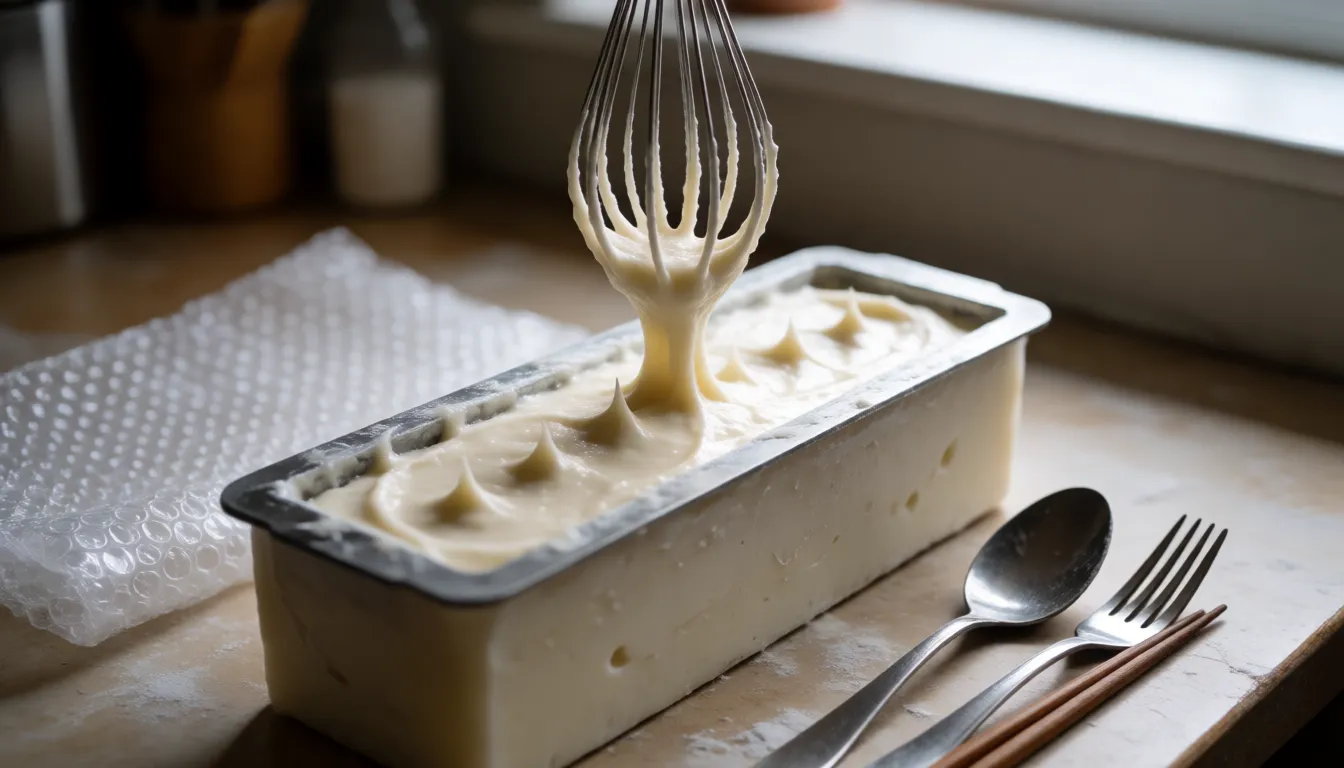
Textured tops are easiest at medium to thick trace, when the batter is like pudding and holds a peak. Thinner than that and your design sinks back into a flat top. Everything below is tagged with the trace it needs, so you can check your batter first and pick a technique second. You can do all of it with tools from your kitchen drawer, as long as they're stainless steel, plastic or silicone. No aluminum, ever.
Is your batter ready to texture?
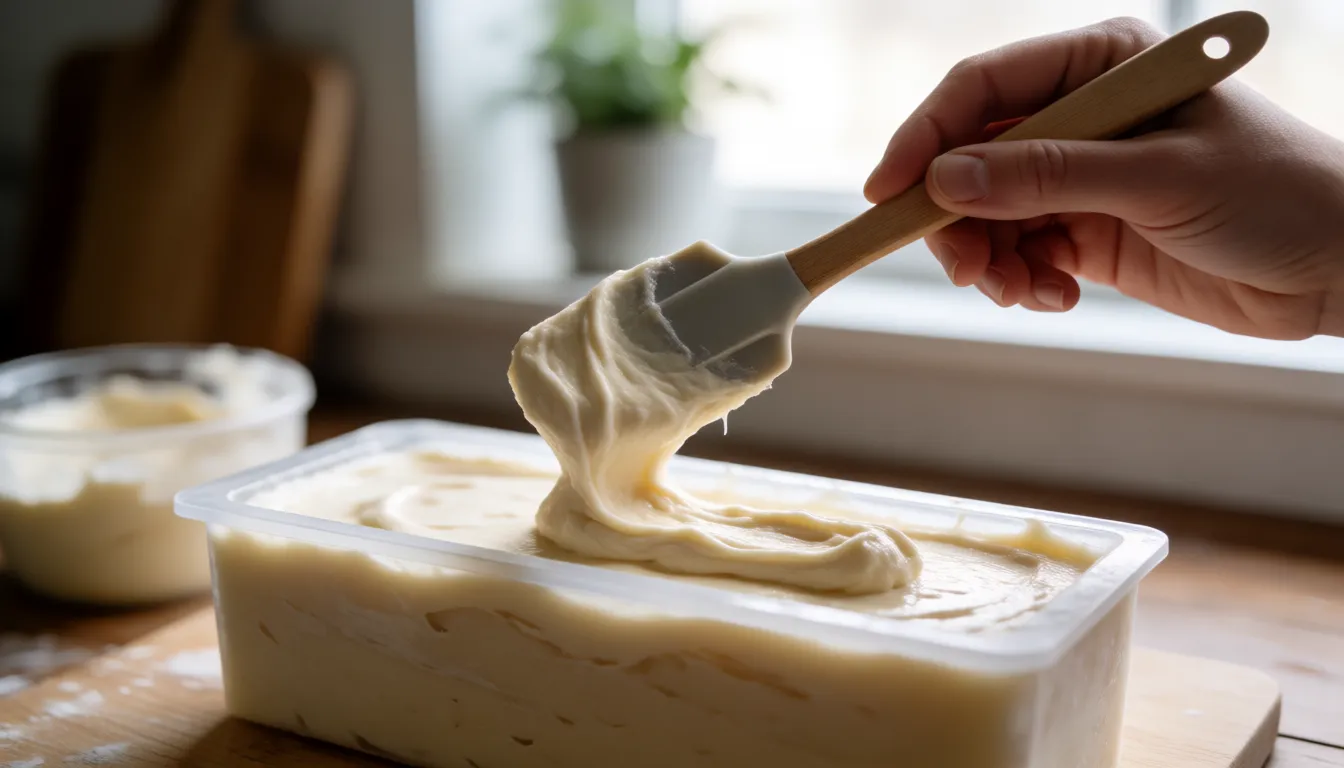
Here's the test I use. Lift your spatula and drizzle a little batter back across the surface. If the drizzle sinks straight in and disappears, you're at light trace and it's too early for peaks. If it sits on top for a moment, leaving a faint line or a little mound, you're at medium trace. If a dollop stands up on its own like soft-serve or thick pudding, you're at thick.
Most of the tops in this article want medium to thick. A few, like stripes and swoops, are happier at the thinner end.
If your batter is too thin, don't start texturing yet. Stir by hand for a minute or two, or give your stick blender a one- or two-second pulse, then check again. Thin batter forgives waiting. It does not forgive being poked early. Once it holds a drizzle, you're in business.
Tools that are safe with lye
The rule is simple: stainless steel, plastic or silicone. Aluminum is the one to avoid. It reacts with lye, so keep aluminum spoons, foil and baking pans out of your soap station.
Here's what works from a regular kitchen:
- Stainless or plastic spoons
- Silicone spatulas (a wide, flat one is the most useful)
- A whisk (stainless)
- A dinner fork
- A butter knife
- Chopsticks or bamboo skewers
- Bubble wrap
- Cookie cutters (plastic or stainless) and cardboard for stamps
Once these have been in batter, keep them as soap tools. Don't put them back in the food drawer.
Set up before you mix
Soapmaking is a race against the clock, so lay everything out before you touch the lye. Put your tools in a row, your mould where you'll want it, and any toppings measured into little bowls. Decide now which texture goes on which loaf, because you won't want to make that decision with batter thickening in the pot.
Run your oils through the Soap Brain lye calculator to get your lye and water. If you're planning something fussy on top, I'd stay away from big water discounts, since less water gives you a batter that thickens faster. Add fragrance or essential oil at your supplier's recommended rate for that specific oil. Some scents also speed up trace, so it's worth knowing which yours do. If you're making your first loaf, the beginner trinity bar recipe is a good, calm batter to practise on.
Now the safety part, once and plainly. When you mix, wear goggles, gloves and long sleeves, work with the windows open or a fan running, and always add lye to water, never water to lye. If lye splashes on your skin or in your eyes, rinse with plenty of running water right away.
When you pour, hold back about 100–150 g of batter in a separate cup for the top. That's your working batch for a topper, a stripe, or patching a bare corner. I usually soap at around 100–110°F (38–43°C), which gives me a bit more time to play.
Trace to technique: which texture for which batter
Check the batter, find the row, pick a texture. The numbers match the techniques in the sections that follow.
| Your batter | What it looks like | Good tops |
|---|---|---|
| Light trace | Thin, drizzle sinks straight in | 8. Chopstick drag through colour stripes, 7. Chopstick circles and figure-eights, 3. Spatula swoops (gentle ones) |
| Medium trace | Drizzle sits on the surface, like thin pudding | 2. Spoon rivers and divots, 6. Fork combing, 4. Crosshatch diamonds |
| Thick trace | Holds a peak, like soft-serve | 1. Classic spoon peaks, 5. Whisk peaks, 10. Stamps, 9. Bubble wrap honeycomb |
| Racing | Thickening while you watch, maybe grabbing the spoon | 1. Rustic spoon peaks, 11. Botanical topping, 12. Salt topping |
If your batter falls between two rows, go with the thicker one. Batter that holds its shape is easier to work with than batter you have to chase.
Spoon, spatula and whisk tops
1. Classic spoon peaks and valleys Tool: back of a spoon. Trace: thick. Press the back of the spoon into the batter and pull straight up, working across the whole surface. You get little peaks with valleys between them. Tip: vary the pressure a little. Perfectly even peaks look mechanical, while slightly uneven ones look handmade.
2. Spoon rivers, swoops and divots Tool: spoon. Trace: medium. Drag the back of the spoon in long curves to make "rivers," or press the bowl of the spoon straight down for round divots. Tip: pick one motion and repeat it. A top with rivers, divots and peaks all at once looks messy.
3. Spatula swoops Tool: wide, flat silicone spatula. Trace: light to medium. Lay the flat side on the batter and sweep it in wide arcs, lifting as you go to leave soft ridges. Tip: do it in a single pass. Going back over it flattens what you just made.
5. Whisk peaks Tool: whisk. Trace: thick. Dip the tip of the whisk lightly into the surface and lift straight up. You'll get a field of small, sharp points. Tip: only touch the surface. Push deeper and the whisk pulls batter up with it and leaves craters.
Fork, chopstick and crosshatch tops
These are the finer-line tools. They give you a more detailed top, but they need a batter steady enough to hold a line.
6. Fork combing Tool: dinner fork. Trace: medium. Drag the tines across the top in one direction for rows of fine ridges, like a tiny plowed field. Tip: rest the tines only lightly on the surface. Dig in and you'll scrape down to the bottom.
4. Crosshatch diamonds Tool: edge of a flat spatula. Trace: medium. Press the edge into the batter and drag diagonal lines in one direction, then cross them the other way to make diamonds. Tip: wipe the edge on a paper towel now and then so the lines stay crisp.
7. Chopstick circles and figure-eights Tool: chopstick or skewer. Trace: light to medium. Draw slow circles or figure-eights, keeping the tip just below the surface. Tip: go slowly. Rushing tears the batter instead of swirling it.
8. Chopstick drag through colour stripes Tool: chopstick. Trace: light. Pour or drizzle stripes of different coloured batter across the top, then drag the chopstick across them at right angles, back and forth, for a feathered look. Tip: this is the one technique that needs the thin end of trace. Thick batter tears the stripes instead of pulling them.
Bubble wrap and stamped tops
9. Bubble wrap honeycomb Tool: a piece of bubble wrap. Trace: thick. Lay the bubble side down on the top and press gently, then peel it off slowly. You're left with a honeycomb pattern. Wash the wrap and reuse it. Tip: peel from one edge, slowly. Yanking it straight up takes the top with it.
10. Cookie cutter or cardboard stamp Tool: plastic or stainless cookie cutter, or a piece of cardboard cut to a shape. Trace: thick. Press the stamp about 1 cm into the top and lift it out. Thick batter holds the impression. Tip: twist the stamp a touch as you lift, so the batter releases cleanly.
If you'd like to see more of these in action, Lovely Greens has a good gallery of textured tops to browse before you choose.
Botanical and salt toppings
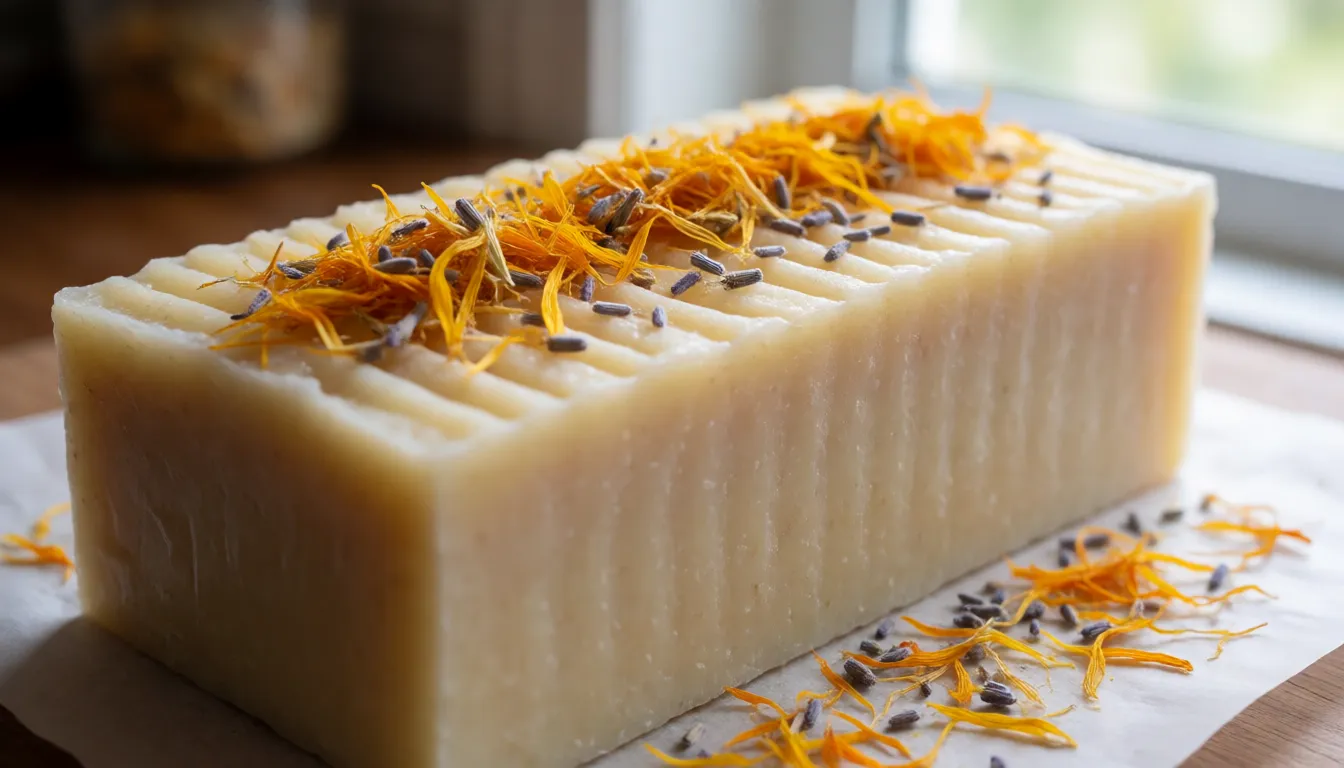
11. Botanical topping Tool: your fingers, or tweezers. Trace: medium to thick, or racing. Sprinkle or place dried petals and buds on top, then press them gently into the batter so they stick. Calendula petals, lavender buds and rose petals are popular choices.
Be honest with yourself about botanicals. Many of them brown or fade in soap, and results vary from botanical to botanical, and even from batch to batch. Before you commit a whole loaf, test your botanical on a single bar first. Also expect some to drop off in the shower. Petals that are pressed in and lightly covered hold better than ones perched on top. Tip: use a scattering, not a blanket. A few well-placed petals look better than a full layer, and they shed less.
12. Salt topping Tool: your fingers. Trace: medium to thick, or racing. Sprinkle coarse salt over the top while the batter is still soft. It catches the light and gives a frosted look. Tip: sprinkle it after you've done your texture, and go light. If it lands too heavy, you can pick a bit off with tweezers while it's still wet.
When the top falls flat, grabs or looks ugly
It fell flat. Your batter was too thin. If it's still workable, wait a few minutes and try again, or stir it a bit and start over with a thicker technique like spoon peaks. If it's too late for that, cover the flat top with a botanical or salt topping.
It's too thick. If the batter has gone stiff and won't move, don't fight it. Press it down with a spatula, then finish with peaks. Thick batter loves peaks.
It's racing. Stop being precious. Spoon it into the mould, dab peaks with the back of a spoon, scatter botanicals or salt on top, and walk away. If the batter is already lumpy and grabbing, that's a rustic top, and it's a perfectly good one.
You don't like it. If the batter is still soft, flatten the top with a spatula and start again. It won't hurt anything. And remember, a texture doesn't have to be perfect.
I learned that the hard way. I once got impatient and started drawing swoops on a thin batter, and the whole top slumped into a smooth, sad sheet within a minute. Another time, a batch seized on me halfway through the pour, and I ended up spooning the stiff mess onto the loaf in lumps. That was the rustic-looking loaf my friends asked for the next week. A ragged top is a design choice, not a failure.
Tweak & Tinker has a useful list of common mistakes that can spoil a design, if you want to compare notes.
Cutting textured loaves so the peaks survive
Deep peaks and toppings tend to drag under a knife. A few things help:
- Trim the tallest peaks. Before cutting, shave off any peaks that stick up well beyond the rest of the top. You'll lose a little drama, but you'll keep the bars intact.
- Press toppings in gently. When you place botanicals or salt, give them a light press into the batter so they're anchored. Then, before cutting, check that they haven't loosened.
- Use a steady, sharp blade. A long, sharp knife drawn through in one smooth motion pushes peaks around less than a dull one that saws. Wipe the blade between cuts so soap doesn't build up and drag.
Unmold, cut and cure
Unmold at about 24–48 hours. If the loaf still feels soft, give it longer before you take it out. Then cut it, and let the bars cure for 4–6 weeks so they harden and get milder. Give the textured tops a bit of space on the rack and a gentle touch when you turn them. After that, they're ready for the shower, petals permitting.
More from the blog
- What Is Saponification? How Oil and Lye Become Soap
- How to Make Liquid Soap: KOH Paste, Dilution, Fixes
- How to Make Breastmilk Soap: Melt and Pour or Cold Process
- Essential Oils for Soap Making: Rates, Picks and Fixes
- Soap pH: What's Normal, Why It's Alkaline, How to Test
- Master Batching Soap: 1:1 Lye Solution and Oil Blends
- All posts →