Guides
How to Make Breastmilk Soap: Melt and Pour or Cold Process
By The Soap Brain Team — Cold-process soap makers & formulators
·
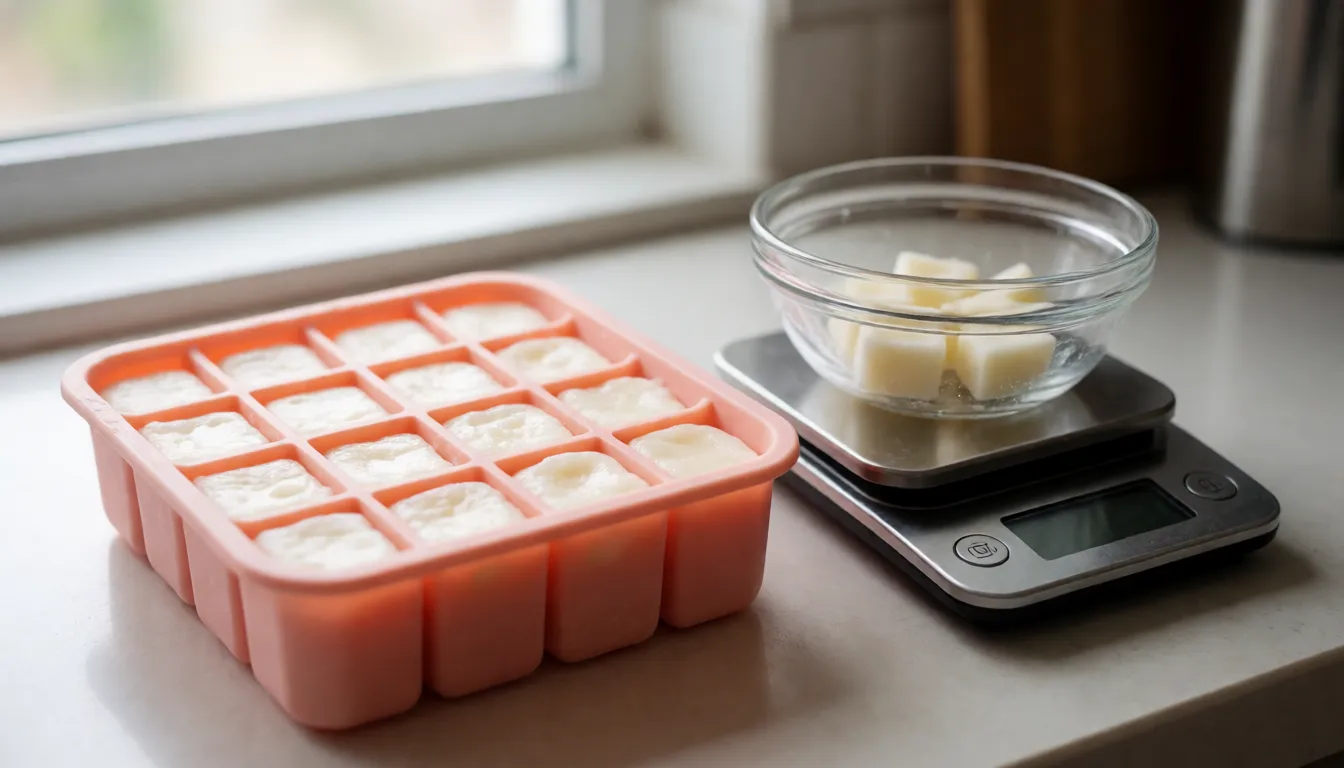
If you've got a freezer stash of breast milk and you're wondering whether it will survive being turned into soap, it will, and you don't need much of it. The quick answer: if you've never made soap, do melt and pour. It uses no lye, takes about 30 minutes of hands-on time, and needs just 30 g of milk for a 500 g batch. If you want true from-scratch soap, do cold process with half milk and half water, which stretches a small stash a long way. Cold process needs lye and an afternoon, so for equipment and general technique, start with How to Make Soap: A Beginner's Cold Process Soap Recipe.
Which Method to Pick and How Much Milk to Set Aside
Here's how the two routes compare side by side:
| Melt and pour | Cold process | |
|---|---|---|
| Lye | None | Yes |
| Milk needed | 30 g per 500 g base | Half of the calculator's water weight |
| Hands-on time | About 30 minutes | An afternoon |
| Ready to use | Next day | 6 weeks |
| Keeps | About 2 months, room temperature | About a year |
Melt and pour uses a base that's already been made into soap, so you're just melting, stirring in milk and pouring. That makes it the low-stakes way to use milk you can't replace. Cold process is real soap from oils and lye, so it lasts longer and feels more like "your" soap. It also asks more of you: more steps, more gear, and a six-week wait.
Set your milk aside before you start. For melt and pour, that's 30 g. For cold process, you'll know your number once you've run your oils through the calculator (see the cold process section below).
Handling the Milk Before You Start
Both methods start the same way, and a bad start here can't be fixed later.
- Use fresh milk, or milk that was frozen promptly and thawed in the fridge. If it smells sour or off, don't use it. Spoiled milk makes a bar that can irritate skin.
- Freeze in small portions. I use a silicone mini-cube tray and aim for about 10 g per cube, then bag the cubes once they're solid. You pull exactly what you need and the rest stays untouched, which matters when every ounce feels precious.
- Weigh the milk on your scale. Never measure it by spoon. Cubes are a guide, but the scale decides.
- Expect yellowing in cold process. When lye meets milk, the mix turns yellow and smells a little odd. That's normal. A bar that later turns dark or smells off is a different story, and I cover that in the section on keeping and throwing out.
Safety Before You Melt or Mix
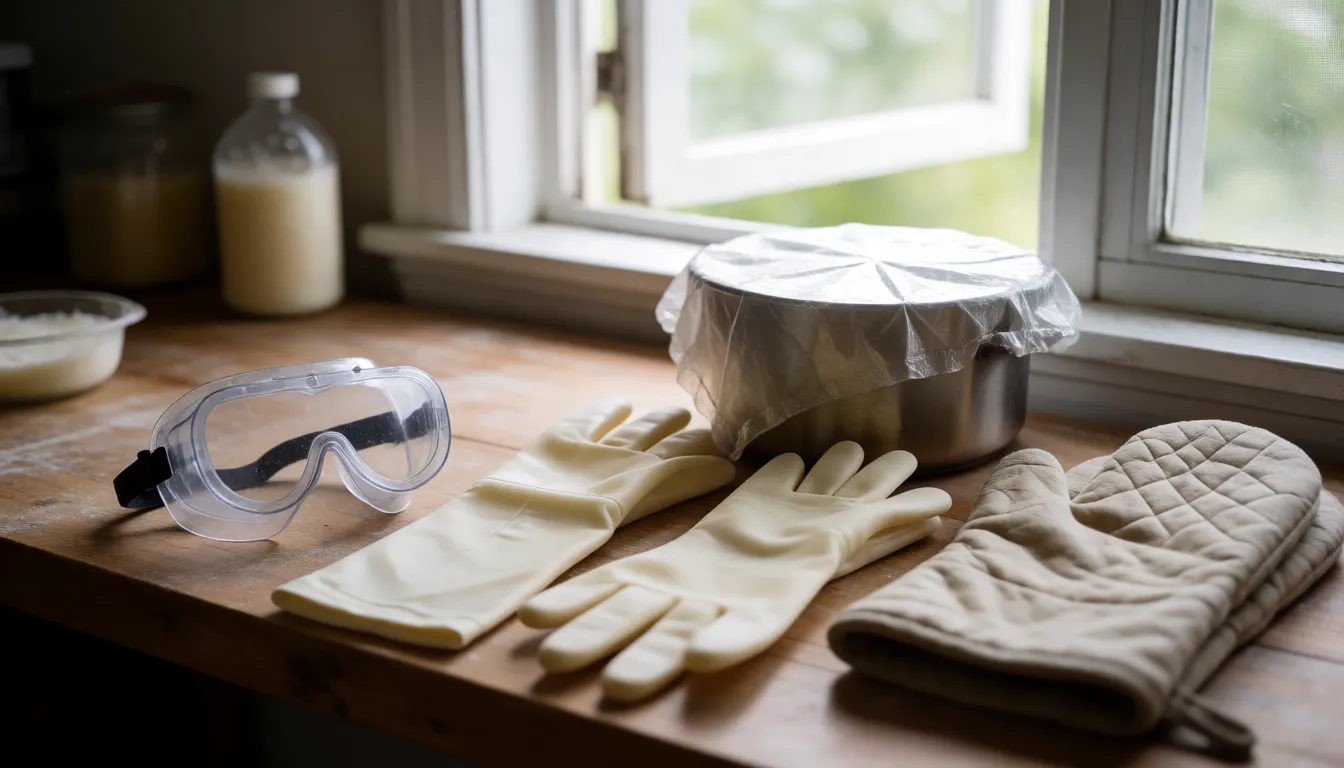
Here are the safety rules, stated once so I don't have to nag you later.
Cold process (lye):
- Wear splash goggles, gloves and long sleeves.
- Work with the window open or a fan pulling air away from you.
- Keep kids and pets out of the room.
- Always add lye to the liquid, never the liquid to the lye.
- If lye splashes on skin, rinse under plenty of running water for 15 minutes.
- If it gets in your eyes, flush with running water and get medical help.
For the full rundown, see Lye Safety for Soapmakers: Gear, Airflow, and First Aid and Lye Burn First Aid: What to Do for Skin, Eyes and More.
Melt and pour (no lye, but not risk-free): the base gets hot, the container gets hot, and microwave steam burns. Use oven mitts, and stir before you check the temperature, because the top of the base can read cooler than what's underneath.
Melt and Pour Breast Milk Soap, Start to Finish
Batch: 500 g clear or white melt and pour base and 30 g room-temperature milk. It makes about 5 small bars, and you can finish it in an evening.
Why 30 g: it's the amount I use because the bar still sets firm and clean. Go higher and the bar gets soft. At 60 g it turns soft and sweaty and takes days to firm up. Treat 60 g as a ceiling and don't go past it.
- Chop the base into small cubes so it melts evenly.
- Melt it in the microwave in 20-second bursts, stirring between each, or in a double boiler. Stop when it's about 90% melted and stir the rest smooth. Never let it go past 140°F (60°C).
- Let it cool to 120°F (49°C) before the milk goes in. This is the whole point of the temperature. Hotter than that and the milk sugars scorch and the bar goes tan.
- Stir in the room-temperature milk slowly. Cold milk straight from the fridge shocks the base, as you'll see in my story below.
- Add extras if you like, per 500 g of base: 5 g finely ground oatmeal or 5 g honey. Not both in your first batch. For fragrance or essential oil, use your supplier's recommended rate for that specific oil, since safe amounts differ from oil to oil. To turn a rate into grams, multiply your batch weight by the percentage and divide by 100. If this is going to be a keepsake bar, I'd leave it unscented.
- Pour at 115-120°F (46-49°C) into your mold, then spritz the top with rubbing alcohol to pop the bubbles.
- Set for 4 hours, unmold, and leave the bars out overnight to dry a bit. They're ready to use the next day.
My Melt and Pour Batch That Went Tan and Rubbery
On my first melt and pour batch, I figured hotter meant better mixed. I microwaved the base until it was completely liquid and steaming, then grabbed my milk straight from the fridge and poured it in. It looked fine for about a minute. Then it wasn't.
The bar came out tan and rubbery, with a milky skin on top and little beads of sweat all over it. It looked like a sad caramel candy that had been left in a hot car. I'd wasted milk I'd worked hard to pump, which stung more than the ugly soap.
Three small changes fixed it. I stopped the melt at about 90% and stirred the rest smooth. I let the base cool to 120°F before adding anything. And I let the milk come up to room temperature first. The next batch set pale, firm and clean.
That's melt and pour. If you'd like to try the from-scratch version, read on.
Cold Process With a Small Milk Stash
I'm not re-teaching the milk routine here. The goat milk article, "Goat Milk Soap Recipe That Stays Creamy, Not Orange", covers frozen cubes, staged lye addition, the ice bath and how to diagnose scorching. Read that for the routine. This section covers only what's different for breast milk.
Half milk, half water is the plan. Breast milk is low in fat and sugar compared to goat milk, and there's so little of it that the goal is to stretch it. Run your oils through the Soap Brain lye calculator, take the calculator's water weight, and use half of that as milk and half as water. Weigh the milk in grams from your frozen cubes. You'll only need a few.
Method notes:
- Dissolve the lye in the water half, then add the frozen milk cubes to that solution a little at a time, stirring until they melt. This keeps the milk from scorching.
- I bring both the lye-milk solution and the melted oils to about 90°F (32°C), within 10°F (about 5°C) of each other. I keep it cool so the small amount of milk sugar stays pale. If the oils start to turn cloudy, the cocoa butter is setting, so warm them a few degrees.
Recipe (300 g of oils):
| Oil | Grams | % |
|---|---|---|
| Olive oil | 150 | 50% |
| Coconut oil | 75 | 25% |
| Cocoa butter | 60 | 20% |
| Castor oil | 15 | 5% |
Why this blend: it's a harder, whiter bar than the goat milk recipe. The cocoa butter gives a firm bar that holds a clean edge, which matters for a keepsake, and low-fat milk isn't adding much softness of its own. If you want to know what each oil does, see Soap making oils and what each one does.
Calculator settings: pick "Cold-process bar" as the soap type, then change the superfat from its 5% default to 6% and the lye concentration from 33% to 30%. Enter your oils, double-check each row is the oil you're actually using (the calculator lists "Coconut oil, 76°F" for ordinary refined coconut), and use the weights it gives you. Weigh everything. If you want to know why, Soap Making: Weigh, Not Volume, for Safe Lye Math explains it.
Yield: four or five small bars in a small silicone cavity mold.
Timeline (my numbers):
- Pour, then keep the mold in a cool spot.
- Unmold at 48 hours. Milk makes a small batch soft, and cutting earlier crumbles it.
- Cut, then cure for 6 weeks on a rack with airflow.
How Long It Keeps and When to Throw It Out
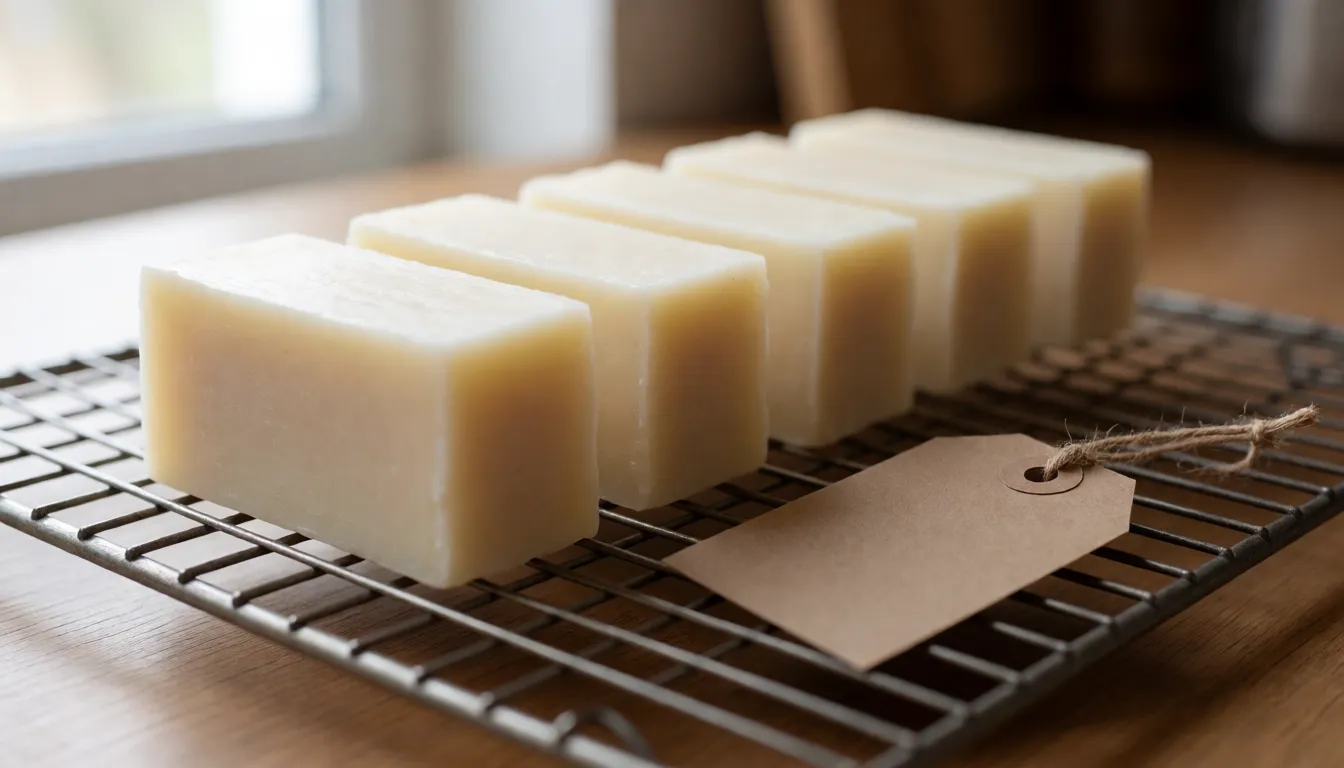
These are my rules of thumb.
- Melt and pour: about 2 months at room temperature. Sealed in a bag in the freezer, up to about 6 months. Label the bag with the date.
- Cold process: about a year, stored dry on a shelf with airflow. Don't refrigerate or refreeze cold process bars. Keep them dry.
Throw a bar out if it smells sour or off, turns dark, grows spots, or has been kept damp. A melt and pour bar that sat wet in a soap dish goes in the bin.
Yellowing from the lye stage is normal and fades into a creamy tone. Darkening weeks later isn't the same thing. It's a bar that's gone wrong.
Using the Bar and What It Isn't
It's not a baby product. If an adult wants to try it, do a forearm patch test: dab a lathered bar on the inner forearm, rinse, and wait 24 hours.
It carries no health or immune claims. Heat and lye change what's in the milk, so the bar is soap and nothing more. Milk by Mom says the same about heat and lye reducing the milk's antibodies and enzymes.
If you're gifting it, label it as made with human milk and say it is untested. Make it from your own milk only.
Turning a Bar Into a Keepsake
This is what most people who search for this actually want.
- Pour into a small cavity mold, use a few bars, and save one.
- Date the bar and write the baby's name and the month on a card.
- Store the saved bar dry, in a box or wrapped in paper, out of sun.
- Remember it's for keeping, not washing with, so shelf life matters less. Still check it now and then against the rules in the keeping section above.
- Photograph the mold and the batch, and keep the card with the bar.
That little bar, a card and a photo of the mold make a nice find in a drawer years from now.
More from the blog
- What Is Saponification? How Oil and Lye Become Soap
- How to Make Liquid Soap: KOH Paste, Dilution, Fixes
- Essential Oils for Soap Making: Rates, Picks and Fixes
- Soap pH: What's Normal, Why It's Alkaline, How to Test
- Master Batching Soap: 1:1 Lye Solution and Oil Blends
- Tallow Soap Recipe: A Hard, Long-Lasting Cold Process Bar
- All posts →