Guides
Types of Soap Making: Which Methods Use Lye
By The Soap Brain Team — Cold-process soap makers & formulators
·
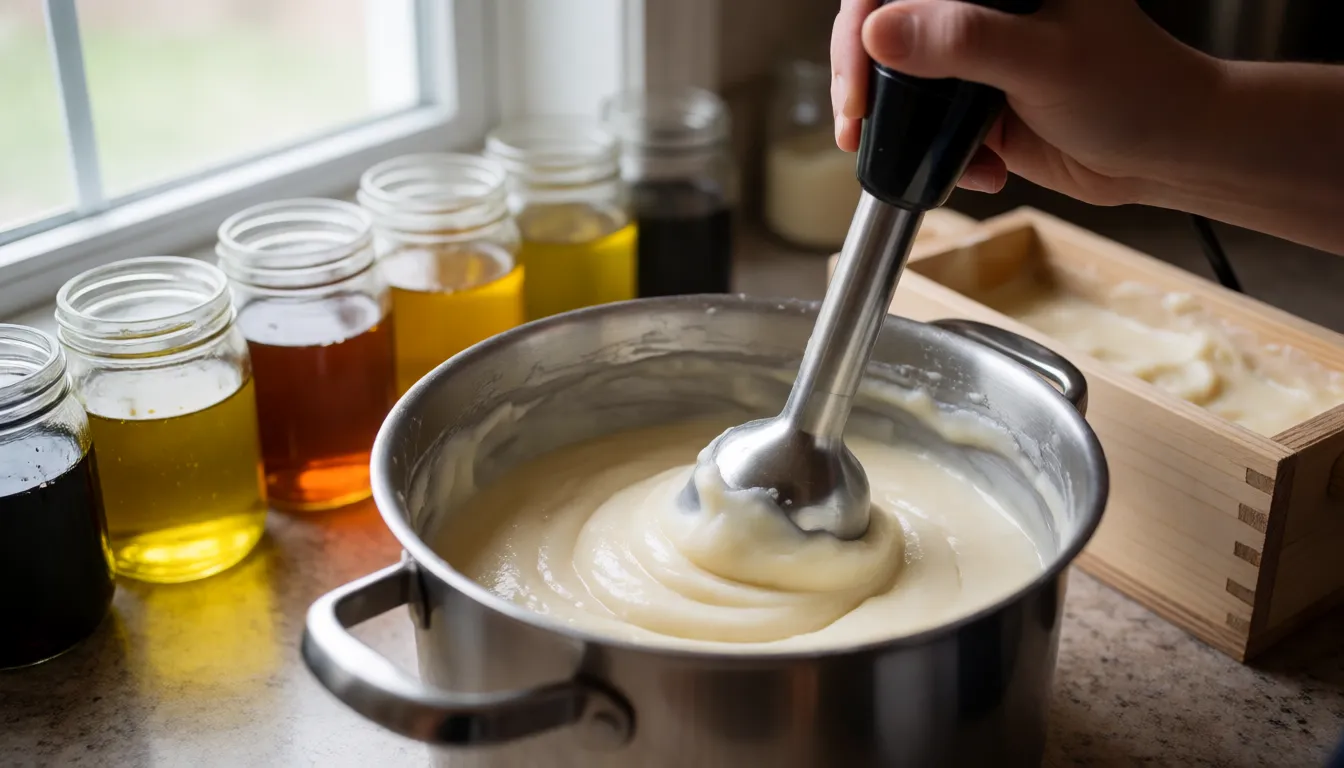
Most people asking about the types of soap making are really asking whether they have to handle lye. Cold process and hot process make bar soap with sodium hydroxide, and liquid soap uses potassium hydroxide (KOH). All three require you to handle lye and run the numbers through a lye calculator. Melt and pour and rebatching don't: you melt soap that already exists. The methods differ mainly in who performs saponification, the reaction that turns oils and lye into soap and glycerin.
The short answer: where saponification happens decides the method
Every soap you can buy or make has been through saponification. With cold process, hot process and liquid soap, it happens at your bench, so you calculate the lye, weigh it and handle it. With melt and pour and rebatching, it happened earlier, at a manufacturer or in your own previous batch, and you only melt and shape the result.
That settles a common myth. Melt and pour soap does contain lye in the sense that all soap does: the lye was used up in the reaction before the base reached you. What's left is finished soap and glycerin, not a jar of caustic. You never touch the sodium hydroxide.
| Melt and pour | Cold process | Hot process | Liquid soap | |
|---|---|---|---|---|
| Lye handling | None (base is already saponified) | Sodium hydroxide | Sodium hydroxide | Potassium hydroxide (KOH) |
| Lye calculator needed | No | Yes, set to sodium hydroxide | Yes, set to sodium hydroxide | Yes, set to KOH |
| Typical hands-on time | About 15–60 minutes | About 60 minutes | About 1–4 hours | 1–4 hours cooking, 30 minutes to 3 hours diluting, about 30 minutes thickening |
| Cure or wait | None | Roughly 24–72 hours in the mold, then about 4–6 weeks | Usable soon after the cook, improves with 4+ weeks | No cure |
| Main equipment | Microwave-safe container, mold | Immersion blender, scale, mold | Slow cooker, scale, mold | Slow cooker, scale, containers for dilution |
| Design freedom | Limited swirls, good for shimmer micas | Widest range | Thick, rustic texture limits swirls | Not a design method |
| Best for | Quick projects, supervised children | Beginners willing to learn and wait | Experienced makers who want faster soap | Advanced makers |
All times are typical, not exact. Mold time and cure depend on the recipe and how much water it holds.
Melt and pour is the simplest place to start, so it comes first.
Melt and pour: a base someone else saponified
A melt and pour base is finished soap, usually with glycerin and other additives that keep it meltable and clear or opaque. You cut it up, melt it in a microwave-safe container, stir in color and fragrance, and pour it into a mold. Because the base is already saponified, there's no reaction left to complete and nothing to cure: it only needs to cool and set. Hands-on time is about 15–60 minutes. The Handcrafted Soap & Cosmetic Guild's beginner guide covers the details of working with a base.
It suits supervised children, with one condition: an adult handles the hot melted base. Nothing here extends to the lye methods, which are adult work.
If you add fragrance or essential oil, don't guess at an amount. A safe level differs from oil to oil, so use the supplier's recommended rate for that specific oil. To turn a percentage rate into grams, multiply the weight of your base by the rate and divide by 100. As an arithmetic illustration only, not a recommended rate: a rate of 1% on 500 g of base is 500 × 1 ÷ 100 = 5 g. Swap in your supplier's rate and your own base weight.
The trade-offs are practical:
- Fading: colors and scents fade faster than in cold or hot process bars.
- Heat: the bars can soften or melt in direct sunlight.
- Wear: they wear down faster in the shower.
- Swirls: harder to achieve, because the base sets as it cools.
- Shimmer micas: these look striking in it.
Then there's the debate over whether it's "real" soap making. The base is real soap. The argument, made for example by School of Natural Skincare, is that you haven't made soap because you didn't perform saponification. Both statements hold. Whether the skill counts is a question of who did the chemistry, not of what's in the bar.
If you want to do the chemistry yourself, the first method that lets you is cold process.
Cold process: oils, sodium hydroxide solution and a cure
Cold process combines oils with a solution of sodium hydroxide in water and blends them with an immersion blender until the mixture reaches trace: it thickens enough that a drizzle leaves a visible trail on the surface. You pour it into a mold, insulate or leave it, and wait. Expect roughly 60 minutes of hands-on time, about 24–72 hours in the mold, and a cure of about 4–6 weeks. It gives you full control of the recipe and the widest design range, and it has a real learning curve.
Three numbers in a lye calculator drive the recipe:
- SAP value (saponification value): the amount of lye, expressed in mg of KOH per gram of oil, needed to saponify that oil. Each oil has its own, which is why swapping oils without recalculating gives a wrong result. The calculator holds these values, and the oils guide explains what each oil contributes to a bar.
- Superfat: the percentage of oil deliberately left unsaponified. A higher superfat leaves more free oil in the bar, so it feels more moisturizing and lathers less firmly. It is not a fix for measuring errors: it does not make an inaccurate lye weight safe, so weigh exactly what the calculator gives you.
- Water-to-lye ratio: how much water dissolves the lye. Less water means a firmer, faster-setting batch that reaches trace sooner. More water gives you more working time but a longer cure.
Saponification and the cure are two different things. Saponification is mostly complete within the first day or two, while the soap sits in the mold. The cure that follows is about water evaporating: over the next weeks the bar loses water, hardens, and lasts longer in use.
That gap is why unmolding too early is a hazard as well as a mess. Soap still in the mold at that stage can irritate skin, and it's soft enough to dent or crumble. The cue for unmolding is that the block is firm enough to cut cleanly: it holds its shape when you press it, and a knife or cutter goes through without smearing or leaving a gummy edge. If it's still soft, leave it in the mold longer. Wear gloves until then, and again while you cut.
For a first recipe, the beginner trinity bar keeps the oil list short, and the cold process recipe collection has more to work from. Hot process uses the same reaction with heat added, but the safety setup comes first, and it's identical for both.
The lye safety setup for cold process, hot process and liquid soap
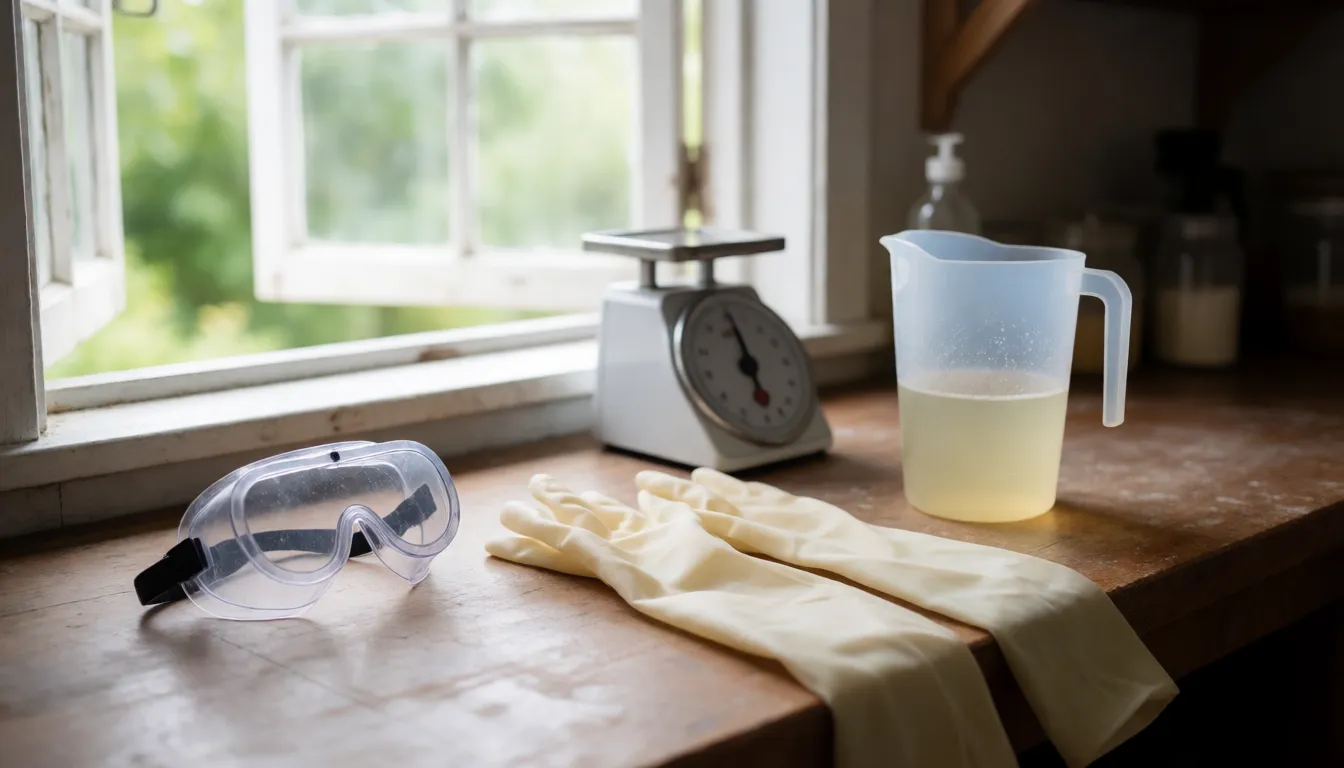
This is the one place the lye rules are spelled out. They apply to every method that uses sodium hydroxide or KOH.
- Gloves, eye protection and long sleeves. Lye burns skin and can blind. Wear chemical-resistant gloves, splash goggles (not just glasses), and covered arms and legs.
- Ventilation. Mixing lye into water produces fumes and heat for the first moments. Work by an open window or under a fan, and keep your face out of the vapor.
- Lye into water, never water into lye. Adding water to a pile of lye can erupt. Pour the lye slowly into the water and stir.
- The right container. Lye solution gets very hot, so use heat-safe plastic (such as #2 HDPE or #5 polypropylene) or stainless steel. Don't use aluminum, which reacts with lye, and don't use glass that isn't heat-rated, which can crack from the heat.
- Label it and keep it out of reach. Mark the container of lye solution clearly, and keep it where children and pets can't get to it, including while it cools.
- Keep lye tools out of the kitchen until rinsed. Anything that touched lye or raw soap batter must be rinsed thoroughly before it goes anywhere near food. Better still, keep those tools for soap only.
- Clear the room. Keep children and pets out while you work.
- If it splashes: rinse the skin under running water for at least 15 minutes, and remove any contaminated clothing. Don't use vinegar or any other acid to "neutralize" a lye burn; the reaction gives off heat and can make the injury worse. For eyes, flush continuously with water for at least 15 minutes and get medical help. If skin stays painful or blistered after rinsing, get medical help for that too.
Those are the basics for lye. Hot process adds a second set of hazards.
Hot process: the same chemistry, cooked
Hot process uses the same oils and sodium hydroxide solution as cold process, but you cook the batch, usually in a slow cooker, so saponification finishes in the pot instead of in the mold. Plan on roughly 1–4 hours of hands-on time. You still need the sodium hydroxide setting on the calculator and all the safety steps above.
The cook changes how you can handle superfat. Once the cook is done, the reaction is essentially finished, so any extra oil you stir in at the end stays unsaponified. That gives you two ways to work:
- Lower calculated superfat, oil added at the end. Enter a lower superfat in the calculator, then stir in the remaining oil after the cook to reach your target.
- Calculator superfat plus extra oil at the end. Enter your normal superfat, then add more oil after the cook, which lifts the finished bar's superfat above the calculated figure.
Either way, the calculator still gives you the lye, based on the oils and superfat you enter. Oil added after the cook doesn't need lye, and it doesn't change the lye you weighed before the cook.
The bar is usable sooner than a cold process bar, because most of the reaction is done and the batch isn't still transforming as it sits. It still improves with a cure of 4+ weeks, because water evaporating is what makes the bar harder and longer-lasting.
The texture comes out thick and rustic, which limits swirls and fine detail. The extra hazards come from the heat: hot soap can splatter, bubble up the sides of the pot, and stick to skin while still caustic. Keep your gloves and goggles on through the whole cook and while you spoon the batch into the mold, and don't lean over the pot to look.
Both bar methods use sodium hydroxide. The next method swaps it out.
Liquid soap: potassium hydroxide and the most demanding calculations
Liquid soap uses potassium hydroxide (KOH) instead of sodium hydroxide, because potassium soaps stay soft and dissolve in water, while sodium soaps set hard. SAP values differ between the two lyes, so a calculator set to sodium hydroxide gives the wrong answer for liquid soap, and one set to KOH gives the wrong answer for bar soap. Check the lye type before you trust any result.
Purity matters too. KOH flakes are commonly sold at about 90% purity, which means the rest is mostly water, not KOH. Set the calculator's KOH purity to the figure your supplier states. If the calculator assumes pure KOH and you weigh out 90% flakes, you'll end up with less actual KOH than the recipe needs, leaving extra unsaponified oil.
KOH is as caustic as sodium hydroxide, so everything in the safety setup applies: gloves, goggles, long sleeves, ventilation, and KOH into water, never the reverse. The paste is also hot and caustic while it cooks, so the hot process cautions apply here as well: expect splatter, keep your protection on through the whole cook, and don't lean over the pot.
The process has three stages:
- Cooking: the oils and KOH solution are cooked, often in a slow cooker, into a thick paste. This takes about 1–4 hours.
- Diluting: the paste is dissolved in water, taking anywhere from 30 minutes to 3 hours.
- Thickening: if you want it thicker, this takes about 30 minutes.
There is no cure. It is the most demanding method because the calculations are unforgiving and it takes real skill to get a clear, stable result. It is a method for people who already trust their process on bar soap.
A separate thing sometimes gets called liquid soap: grating or melting a bar of soap into water and glycerin. That involves no lye handling and is closer to rebatching than to true liquid soap making. It won't behave like a KOH soap, but it's a workable way to get a soft or liquid product without lye.
Rebatching: a fix and a lye-free variation
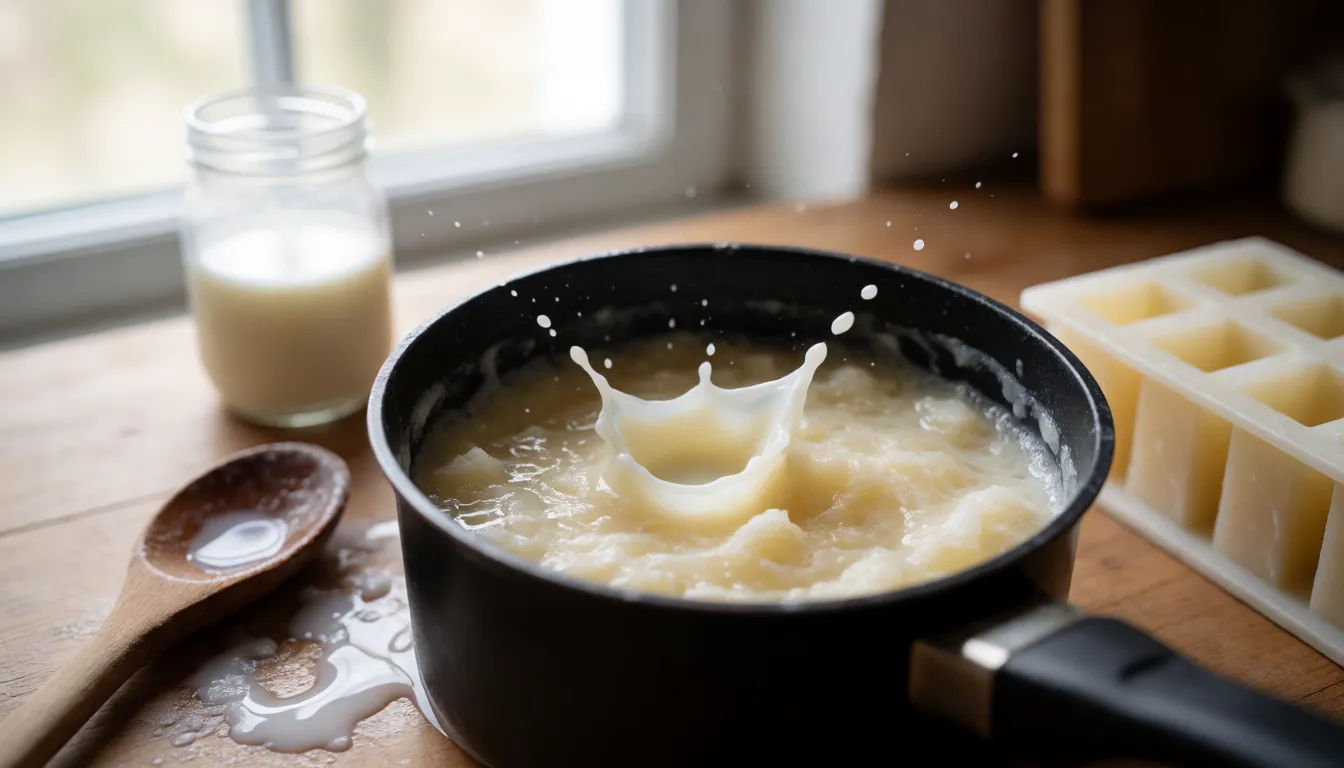
Rebatching means melting existing soap, often grated, with a liquid such as milk, tea or water, then re-molding it. Think of it as a repair or a lye-free variation, not a fifth core method. You can use it to rescue a bar with a cosmetic problem, or to blend leftover soap into something new.
It's easier and safer than cold or hot process because the lye is already used up. The trade-off is limited creative range. It also can't rescue a batch with a wrong lye calculation. If the original recipe left excess lye, rebatching carries that problem into the new bar, so treat a suspect batch as suspect.
Whichever method you settle on, the next question is what it costs to get started.
Equipment by method
Only a few tools separate the methods:
- Melt and pour: a microwave-safe container, something to stir with, and molds. A kitchen scale helps for scaling the base and fragrance.
- Cold process: a scale that weighs accurately in grams, an immersion blender, heat-safe containers for the lye solution, and a mold. Weigh the lye in a container you won't use for food afterward, and keep the immersion blender for soap only, since lye and raw soap residue can cling to plastic and blades.
- Hot process: everything for cold process, plus a slow cooker, kept for soap for the same reason.
- Liquid soap: a scale, a slow cooker, and containers for diluting and storing the finished soap.
- Rebatching: a pot or slow cooker for melting, and a mold.
The scale is the tool to spend on for the lye methods. Weighing wrongly is how batches go wrong.
Which method suits which reader
Three factors decide it: how comfortable you are with lye, how much control over the recipe you want, and how long you can wait.
- Quick, safe and child-friendly: melt and pour. No lye, no cure, and children can take part under supervision with an adult handling the hot base.
- Beginners willing to learn technique and wait: cold process. It gives full recipe control and the widest design range, at the cost of a learning curve and a cure of about 4–6 weeks.
- Experienced makers who want faster soap: hot process. It's usable sooner and lets you add extra oil after the cook, but it means more heat hazards and a more rustic bar.
- Advanced makers: liquid soap. It has no cure, but it demands precise calculations with KOH.
If you're still unsure about working with lye, start with melt and pour or rebatching. Neither involves lye, and you'll pick up handling, color, fragrance and molding before deciding whether cold process is worth the step up.
If you have some experience and are weighing hot process against what you already do, the question is whether a sooner-usable bar is worth losing swirls. If you're thinking about liquid soap, ask yourself whether your bar soap batches come out reliably first.
Next step: the calculator and the safety basics
For melt and pour or rebatching, you can start now: buy a base or gather soap to melt, and read the supplier's guidance for any fragrance you add.
For cold process, hot process or liquid soap, start with the Soap Brain lye calculator. Enter your oils by weight, set your superfat, and choose the correct lye type: sodium hydroxide for bar soap, KOH for liquid soap. Then let the calculator give you the lye and water amounts. Don't estimate them.
If you're going with cold process, the beginner trinity bar recipe is a good first batch. The classic castile recipe is a single-oil bar, but it isn't a first-batch recipe: a bar that is nearly all olive oil is soft and slow to harden, so it needs a much longer cure than the 4–6 weeks above. Save it for after you've made a few batches.
More from the blog
- What Is Saponification? How Oil and Lye Become Soap
- How to Make Liquid Soap: KOH Paste, Dilution, Fixes
- How to Make Breastmilk Soap: Melt and Pour or Cold Process
- Essential Oils for Soap Making: Rates, Picks and Fixes
- Soap pH: What's Normal, Why It's Alkaline, How to Test
- Master Batching Soap: 1:1 Lye Solution and Oil Blends
- All posts →