Guides
Salt Bar Soap Recipe Cold Process: Fix Fast Trace
By The Soap Brain Team — Cold-process soap makers & formulators
·
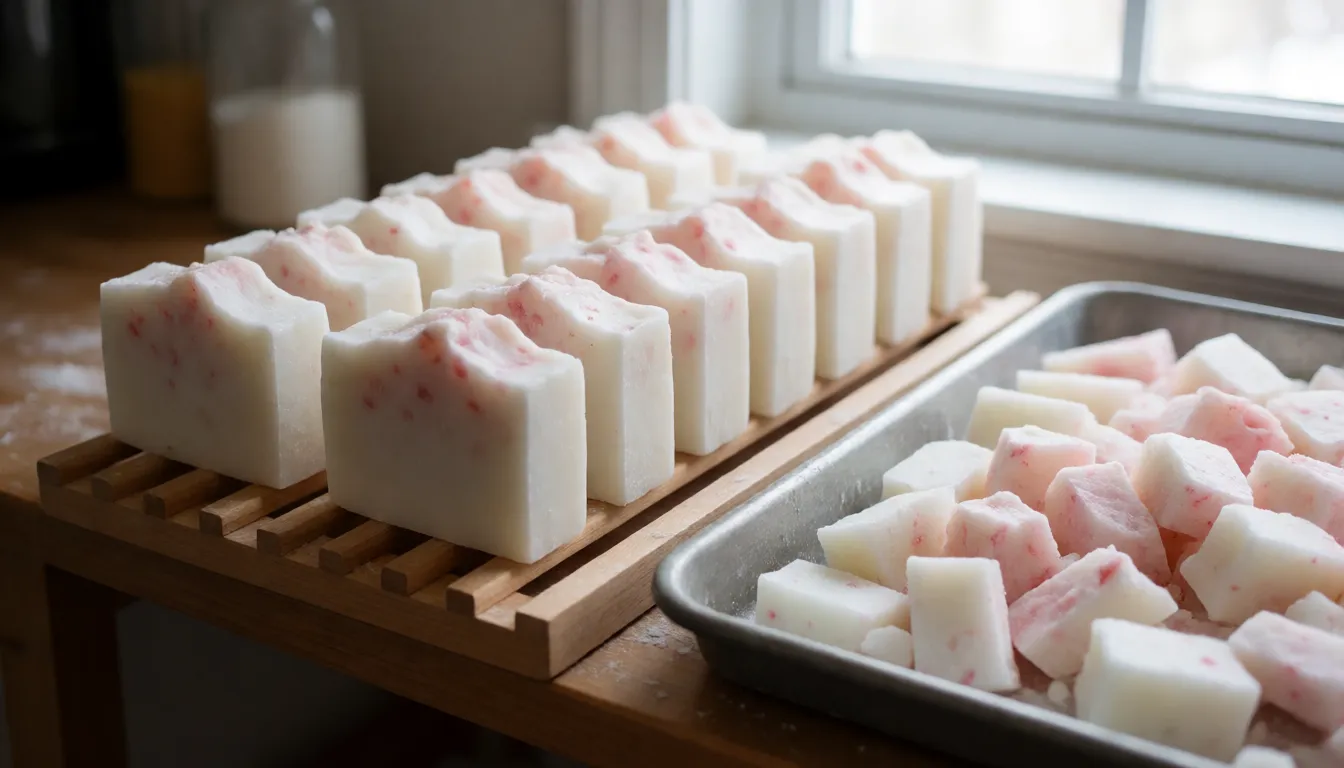
A good salt bar is hard as a river stone and cleans like nothing else in your soap dish. It also has a mean streak: the batter can go from pourable to fudge in the time it takes to answer a text.
The batch that set before I could pour it
My first salt bar went into the mold like a scoop of cold peanut butter. I'd stick-blended to trace, dumped in the salt, and blended a little more "to make sure it was mixed." Within a minute the batter was climbing the blender. I ended up pressing it into the loaf mold with a spatula and rapping the mold on the counter, and the finished bars had air pockets you could lose a pea in.
So here's the answer up front, and the rest of this article is about timing:
- Salt: 50% of your oil weight, so 500 g of salt for 1,000 g of oils. It's where I'd start anyone.
- Oils: about 70–85% coconut oil, a smaller share of olive or another soft oil, and a little castor.
- Superfat: 15–20% in the lye calculator.
Salt bars thicken fast and harden fast. The recipe matters, but when you add things, and how, matters just as much.
Why salt bars are worth the fuss
They're hard, they last, and they don't turn to mush in a wet soap dish. They cleanse well, and the salt gives them a fine, scrubby feel that's great for hands, feet, and anyone who comes in from the garage or the garden. They're also pretty: pink clay, a little charcoal swirl, or plain white all look good.
They're not a gentle face-wash bar, and they lather differently from an olive-heavy bar. Think of them as the workhorse of the shower.
The recipe: oils, salt and settings
This recipe uses 1,000 g of oils. Run it through the Soap Brain lye calculator to get the lye and water. I don't give lye numbers in the article because they depend on your exact oils and settings, and the calculator handles them.
| Oil | Grams | % of oils |
|---|---|---|
| Coconut oil | 800 | 80% |
| Olive oil | 120 | 12% |
| Castor oil | 80 | 8% |
- Salt: 500 g fine-grain sea salt (50% of oil weight).
- Superfat: 18% in the calculator.
- Lye concentration: set it to about 33%, which is roughly 2 parts water to 1 part lye. The calculator turns that into your actual water and lye weights.
- Fragrance or essential oil (optional): use your supplier's recommended rate for that specific oil, because safe amounts differ from oil to oil. To turn the rate into grams, multiply the percentage by your total oil weight. A rate of X% on 1,000 g of oils is X × 10 grams.
- Colorant (optional): pink clay or charcoal at about 1 teaspoon per pound of oils, so roughly 2 teaspoons here. Stir it into a little of the olive oil first so it doesn't clump.
The sections below explain each choice, so you can change them on purpose.
How much salt: 50% and beyond
At 50%, the batter still behaves. It thickens, but you have a working window, and the bars come out firm and cleanly cut. That's why it's the place to start.
Makers do go to 75% or even 100% of oil weight for harder, scratchier bars. The catch is that the more salt you add, the more the bar can crumble at the edges, and the stiffer and harder to pour the batter gets. I'd nail the 50% batch first and treat the higher levels as a next step (more on that at the end).
The oil blend: why so much coconut
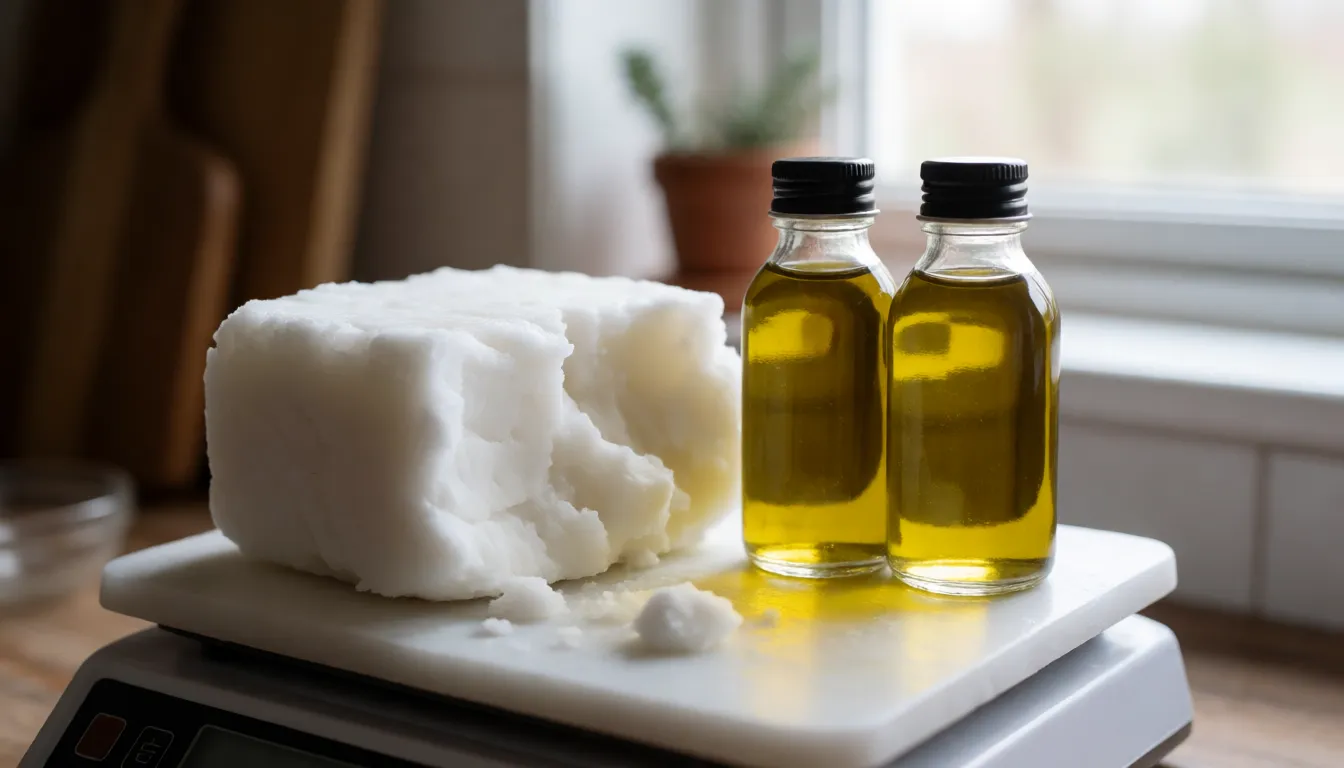
Coconut oil is the standard choice for salt bars because it makes a hard, cleansing bar that still lathers with salt in the mix. Olive oil softens the bar a little and adds mildness, and castor oil helps the lather hold up and feel creamier. There's more on what each oil does on the soap making oils page.
Plenty of good recipes run coconut nearer 70% with more olive. Lovely Greens' pink Himalayan salt soap recipe is one example, at 70% coconut, 22% olive and 8% castor. The tradeoff is lather. Once coconut falls below about 70%, the lather drops off noticeably, and the further it falls, the more you'll feel it. Mild bars are nice, but if you want the classic salt-bar feel, keep coconut high.
Superfat: why 15–20%
Coconut oil and salt are both drying to skin, so I don't run these bars at the 5% you might use elsewhere. A 15–20% superfat leaves extra oil unreacted in the bar to offset that. I use 18% and leave it there.
Choosing your salt
Fine-grain sea salt or pink Himalayan salt is what I use. Fine grains disperse evenly and give a gentle scrub. Skip these:
- Coarse salt: it makes a scratchy bar that's unpleasant on skin.
- Table salt: it carries additives you don't need.
- Epsom salt: it isn't the same thing as sea salt, so leave it out.
I also skip Dead Sea salt and stick to fine sea salt or pink Himalayan.
Water and lye concentration
In the calculator, set the lye concentration to about 33%. That's roughly 2 parts water to 1 part lye, and it gives you less water than the calculator's default. Less water means a firmer bar that sets up sooner and cuts more cleanly.
It also means less time to work, which is the real point of this article. Set the number, let the calculator do the arithmetic, and have your workspace ready before you start.
Pick your mold before you mix
Decide this first, not halfway through:
- Cavity or silicone molds are what I'd give any nervous first-timer. You spoon or pour batter into individual bar shapes, so there's no cutting window to race. Even batter that's getting stiff still fits into cavities.
- A loaf mold gives you neat, uniform bars, but you have to cut at the right moment. Wait too long and the loaf is too hard to cut cleanly, and it crumbles. Experienced makers can manage this, but you'll be watching the clock.
If you want a gentler run-up to any of this, the beginner trinity bar recipe is a good warm-up before you tackle salt.
Making the batch, step by step
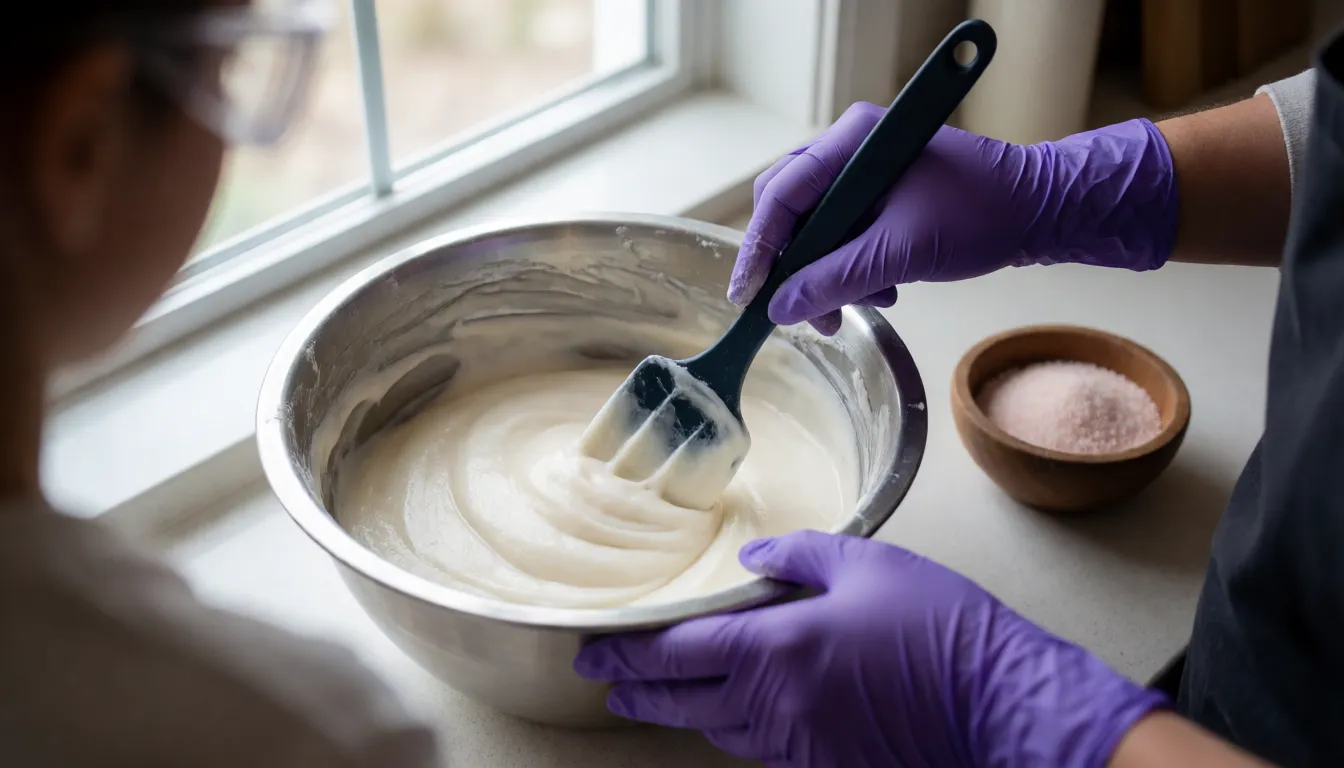
Have everything measured and laid out before the lye comes out: oils, salt, colorant, fragrance, mold, spatula, stick blender.
- Get the numbers. Enter the oils in the lye calculator with 18% superfat and a 33% lye concentration.
- Suit up. Lye calls for goggles, gloves, long sleeves and good ventilation. Always add the lye to the water, never the other way around, and if any splashes on your skin, rinse with plenty of running water. Stir until dissolved, then set it aside to cool.
- Melt the oils. Melt the coconut oil and combine it with the olive and castor. I soap at about 100–110°F (38–43°C) for both the oils and the lye water. Cooler batter thickens a little more slowly, which helps here.
- Combine. Pour the lye water into the oils and stick blend in short bursts, stirring between them, only until you reach light trace: a thin batter that just leaves a faint trail on the surface.
- Add color and scent. Stir in your colorant mixed with oil, and your fragrance at your supplier's rate. Do this quickly, since some fragrances speed things up.
- Add the salt by hand. Pour in the 500 g of salt and fold it in with a spatula. Don't reach for the blender again, because that's exactly how I ended up with peanut butter.
- Pour right away. Scrape into the mold, tap it on the counter to knock out air, and press batter into the corners.
Why add salt at light trace instead of mixing it into the oils first? Some makers do it that way and it works. I prefer adding it at trace because I can see exactly how thick the batter is before I commit, and I stay in control of the moment it stiffens. Add it too early and the salt sinks to the bottom, so light trace is the sweet spot.
Unmolding and cutting
For a loaf, check it at 3–4 hours. It should be firm enough to hold a clean cut but not yet stone-hard. If it's still soft, give it an hour and test again. Come back from lunch and it may already be too hard, so set a timer. Soap Deli News has a good detox salt bar with charcoal if you want to see another maker's timeline.
Cavity molds are much more relaxed. Leave the bars in for 24–48 hours before popping them out, and add a day or two if you used silicone, which releases more slowly.
Curing for 4–6 weeks
The bars will feel rock-hard within days, and that's the trap. They still need 4–6 weeks to cure so the bar finishes hardening and gets milder on the skin. Set them on a rack or tray with air around them and leave them unwrapped, since wrapping traps moisture. Turn them now and then, and be patient.
When it goes wrong: troubleshooting
Poor lather. The most common cause is coconut below about 70%. Check your recipe, and if that's not it, keep curing, because salt bars lather better with time. Next time, raise coconut back into the 70–85% range.
Harsh or drying feel. Usually this means the bar is too young, or the superfat was set too low. If it's a young bar, wait out the full cure. If it's still harsh after six weeks, use it for hands and the workshop sink and put 18% into the next batch.
Grainy texture. If it feels rough rather than pleasantly scrubby, the salt was probably too coarse. There's not much to do with the batch in front of you except use it as a scrub bar. Next time, use fine-grain sea salt or pink Himalayan.
Crumbling. There are two usual suspects: too much salt, or a loaf cut too late. You can tell which because a too-late cut crumbles at the cut edge, while too much salt crumbles all over. Shave off the ragged edges and use the bars, or rebatch them. Next time, drop back to 50% salt, cut earlier, or switch to cavity molds.
Cracking. Bars that looked perfect and then cracked have usually overheated, since these batters can get hot. Don't insulate the mold, and set it somewhere cool. If a bar has already cracked, it's still fine to use.
Sweating. Beads of moisture on the surface come from salt drawing water out of humid air. Blot the bars and cure them in a dry, airy spot, and they usually settle down.
What to try next
Once your first batch works, there's plenty to play with:
- Colorants: pink clay for a soft blush or charcoal for a gray-black bar, at about 1 teaspoon per pound of oils.
- Scents: any fragrance or essential oil you like, always at your supplier's recommended rate for that oil.
- More salt: move toward 75% of oil weight for a harder, scratchier bar, and expect a stiffer batter and less time to work. The Soaply salt bar guide goes deeper on higher salt levels.
More ideas for what to make next are collected on the cold process soap recipes page.
More from the blog
- What Is Saponification? How Oil and Lye Become Soap
- How to Make Liquid Soap: KOH Paste, Dilution, Fixes
- How to Make Breastmilk Soap: Melt and Pour or Cold Process
- Essential Oils for Soap Making: Rates, Picks and Fixes
- Soap pH: What's Normal, Why It's Alkaline, How to Test
- Master Batching Soap: 1:1 Lye Solution and Oil Blends
- All posts →